Find out more about Jen's 30/30 Challenge {here}
The countdown is working, it sure feels like the time is moving faster. However, my body is moving slower and it is hard to finish the clean up and organization of my space but wait, I see it the light at the end of the tunnel.
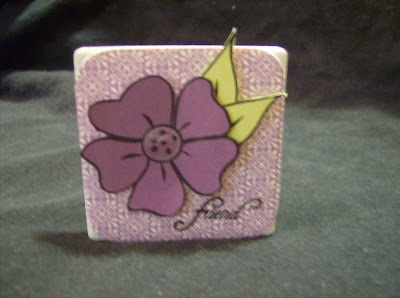
For my project today I found my shoebox of tiles that I wanted to clean out so I could store a different project in it.
Tutorial for coated tile...
1) Cut DP the size of your tile
2) Use Mod Podge to adhere the DP, when you have all the wrinkles smoothed out place on a top layer of Mod Podge. (Less is more when working with this product.)
3) Let Dry
4) Stamp your images and cut them out
5) Adhere stamped images to front of tile with Glue Dots
6) Stamp on top of Dry Mod Podge with staz-on or Hybrid Ink by Palette
7) Adhere small clothespin to back of tile with E600 Adhesive (or Glue Gun)
**For a different use you can cover the back with magnetic sheeting**
Product list...
Tile
Mini Clothes Pin
Mod Podge
E600 adhesive or glue gun
PTI Flower Garden stamp Set
PTI Plum Pudding and Spring Moss card stock
PTI DP Guidelines
acrylic sticker
Palette Noir ink
Happy Stamp Day!

2 comments:
Lovely! This sounds like fun! I'll make note of the tutorial. Glad you are doing a bit better. Take care!
Great job on the tile Sara. Aren't those fun? I like to use then to display my latest cards!!
Post a Comment