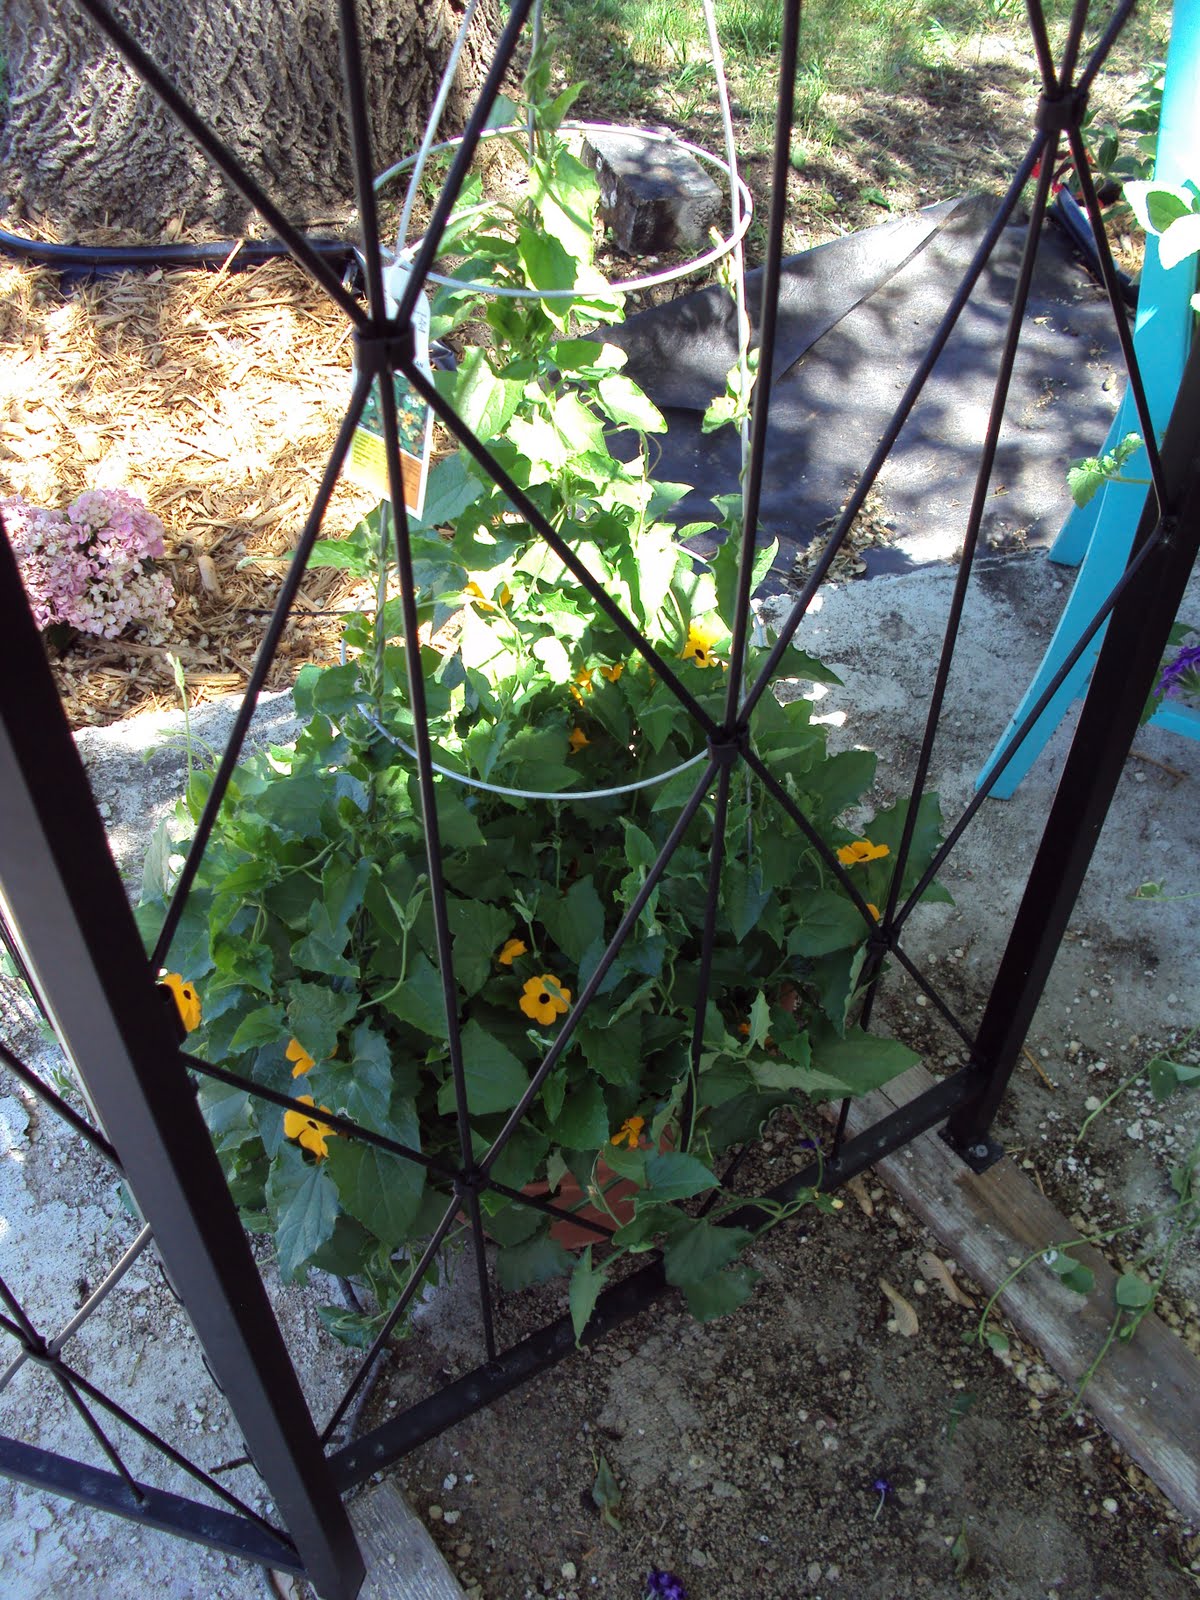
I loved this set from PTI's June release and purchased it with some bday cash. Thanks Dad and Jan;) I was told at the nursery this spring that the Black Eye Susan is known as a noxious weed here in SD and that it would work well in a pot for the trellis. So far it has not grown much off the stakes I have my fingers crossed that it will go when the weather heats up.
I was in a real creative mood today and have been wanting to work on a Copic Airbrush T. I took it a bit further and Cut it when Little J exclaimed, "It is too big"! This makes for a very creative long post, if you have questions you can email me at paschal.sara@gmail.com or leave a question in the comment section.
So here is what I did...
1) Launder the t 2) Place cardboard inside of T so ink won't bleed to the back 3) Cut your vinyl on the cricut (I used the Dog from Everyday Paper dolls at 6") You can also Substitute Freezer paper 4) Center your negative cut onto the t 5) Airbrush the Image with Copics and the Copic airbrush (Yes, Copic Markers can be used on Fabric)
6) Pull off the negative image 7) Line up the Positive Vinyl image on the T 8) Draw in your cut lines with a fabric Sharpie 9) Remove the Positive Cut 10) Embellish the image (here I used a large gem and two small for a collar)
Okay, little J loved her new shirt but it was large so I took a trip back to the 80's and cut it up. Here is how I did it, there are many ways and many different ideas on how this is done but for my Little one I kept it simple and did not show skin.
1) Lay the T out flat 2) Cut off the bottom hem, stretch the bottom 3) Cut 2" wide strip off of the bottom set aside for later 4) Cut up both sides to 1" below the arm pit area and stretch your cuts 5) Start on one side cut 4 slashes on front and back make sure to them line up as close as possible. (I fold over then cut on the fold. Also this is a child's T so I cut four slashes on an adult T I would do more.) 6) Stretch your bottom band and cut in half 7) Take one half and start threading your slashes like a shoe working from the arm pit area to the bottom of the T 8) Tie your ends together in a knot to secure 9) Repeat on other side
Here is a you Tube Video showing you some of the cutting, slashing and more advanced options...
Product List... White T Cricut Expression, Vinyl, Everyday Paper Dolls Cartridge Copic Markers, Copic Airbrush Black Fabric Sharpie Gems and Gem Tac Sharp Scissors
It is a total RIOT in our front yard now, only one Chickadee is allowed to feed on the teacup at a time. Lol! If another approaches the one eating starts to scream and flap the wings causing the other to fight or just fly off. They are on a second bag of food in as many weeks, talk about piggish! So far it is mostly Chickadees, a couple Robins and a pair of Mourning Doves we are hopeful of seeing some Hummingbirds and butterflies as the flowers develop.
I am not happy about the way the sentiment looks now that I see the Pic, it totally is not anchored to the card going to have to go back and rethink this part of the creation.
Product list... PTI card stock, DP and bird watching stamp set SU punches Ruffled Ribbon Unknown Copic Markers, Airbrush
My new PTI goodies arrived last week, over the weekend I had fun CASEing Melissa Bickford at Just Dandy. I love the bold look and the fact it is flat makes it a wonderful creation to donate to the Nursing Home in October.
Let's talk about the Nursing Home, our oldest has taken a position as CNA and is in training this week.
Congrats, Sara!! One of your beautiful cards is being featured today on the Our Daily Bread designs blog for Customer Card of the Day!!! Your gallery is wonderful...you are one talented lady!!
Looking forward to seeing more ODBD beauties from you!!!
I picked up some Wilton paper doilies at Wally World, lots fun airbrushing them as stencil backgrounds for my creations. However, for this card I used the stencil Doily as a background for my sentiment.
Product list... Wilton paper doilies ODBD stamp set Prima Flowers Papertrey ink, buttons, ink vintage ribbon (unknown) MS border punch Copic airbrush and markers nestabilities rectangle
Have I said before how much fun I am having with the Copic Airbrush? LOTS!! I airbrushed the labels one, let it dry then stamped the sentiment from ODBD.
I used the newer DP from PTI as a base and cut some of the flowers out to give them more POP!
Just a reminder that LifeLight is around the corner Sept 3-5th right here in SD. Don't live close hopefully there will be an Internet feed again this year. However, want an awesome FREE event to take your family to this is the place to be. Most looking forward to Lincoln Brewster and Barlow Girl. You can find more information here at the LifeLIght homepage.
Product list... ODBD stamp set PTI DP, ribbon, card stock and bling MS border punch Charm Unknown SU felt flower
My Friend Amy Challenged me to show you some pictures of using your stamps on soap. Type soap into the search bar to see many different ways I have used melt and pour soap. For today I am showing you some new bars using Papertrey Ink stamps from Wishing You and Everyday Blessings.
Below are the soaps made from PTI's Wishing You stamp set. I have to admit the Cameo bars are my favorite. I just don't like the way the extra parts of the image shows up in the tulip bars. (Do not cut your polymer stamps down any farther then what they come to you if you plan on stamping with them in the future. Make sure you get them clean when finished the oils and colors will stain and degrade your polymer stamps.) Soap crafted with Life of the Party melt and pour soap and accessories, Papertrey Ink Cross from Everyday Blessings.
Let your soap cure for a day, wrap tightly in saran wrap. Your bars will keep for a good amount of time when you store them this way.